Kayaking is a great water sport for families with tweens and teens if you have lakes or rivers nearby. Chance to spend some active time outside, enjoy nature, and disconnect from electronics. It’s a pretty easy sport to get into. Relatively inexpensive compared to some outdoor sports (of course, as with any sport there are higher-end options and plenty of ways to invest in more gear). Easy to learn. Not very technical. Great for all ages.

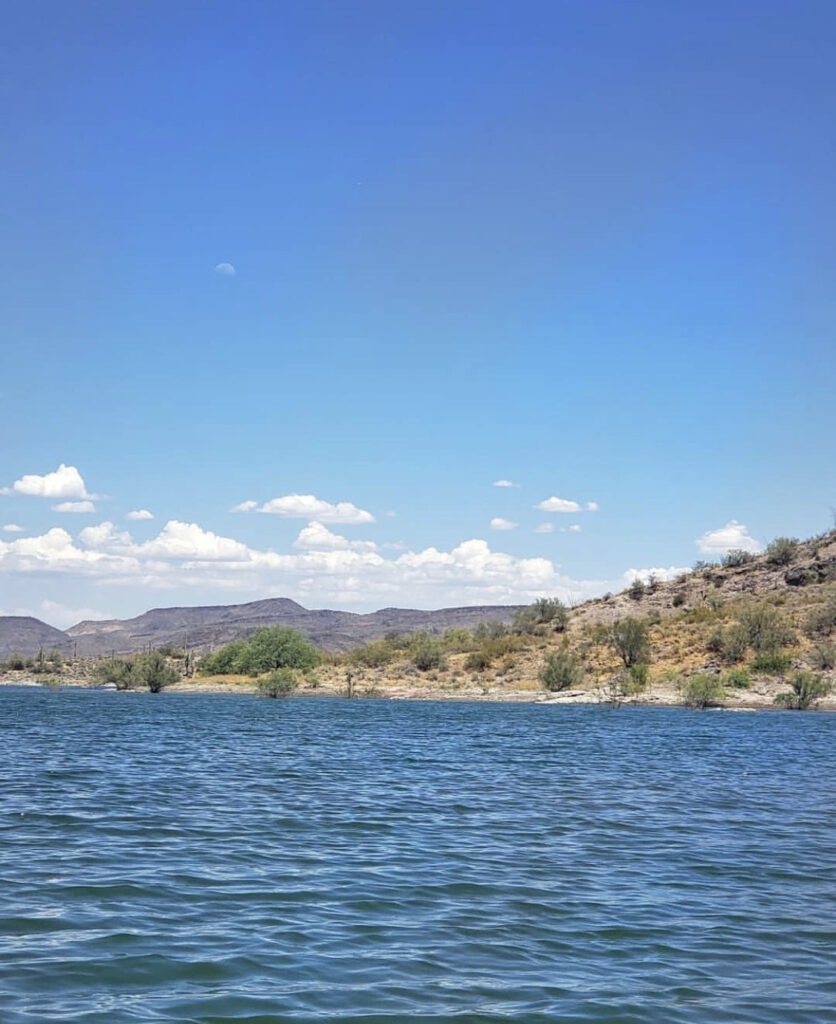
As a kid, I loved canoe trips, and then right after college I signed up for a kayaking tour through the Florida Everglades and I was hooked. Here in Arizona, there are lots of rivers and lakes to kayak – Lake Pleasant in Peoria, Tempe Town Lake, Salt River near Mesa, Lynx Lake in Prescott just to name a few.
Looking for more ideas for teens to do over summer break? We put together a list of over 50 ideas to keep teens busy this summer
Also, check our list of 70 Things to Do With Your Teenage Son
Kayak essential for Beginners
- Kayak– There are lots of different types of kayaks and picking the best one depends on how you’ll be using it, price range, transportation, and personal preference. I highly recommend renting a few times to try out the sport and get a feel of different styles. There are a few factors you’ll want to consider:
- Where will you be kayaking? lakes, rivers, rapids, ocean
- single or double?
- hardshell or inflatable? or modular? or even a folding kayak like the Oru?
- sit in or sit on top?
- will you be fishing?
- What’s your budget? There are kayaks starting at $60 ranging to options for over $1000
We own a Driftsun Voyager 2 which is a 10 ft, 2 seater inflatable. The second seat can be removed so it can be used as a single. I opted for an inflatable because its easier to store and transport. I have an SUV with roof racks but lifting a heavy kayak isn’t very easy and I decided I’d rather have a kayak that I use, than one that sits in the garage. At the time, my son was a lot shorter so he wouldn’t be able to help and I also enjoy going on solo trips. At some point, I would like to get a second kayak that is a hard shell. There are lots of tricks to loading a heavy kayak or special racks and wheels that help. I got a 2 seater so that my son could kayak with me. However, this was a few years ago when he was younger and small – now as a teenager, he’s about the same height as I am with a size 11 foot and the 10 ft 2 seater 10 ft is too small to share. Time to get him his own kayak. If you want a 2 seater to use with 2 adults there are larger options.

- PFD (personal location device) – A PFD is extremely important. If you are renting, usually the rental shop also has PFDs. Check your local laws for wearing and age requirements (do you have to have them on or jsut in the boat), however, it is always best to be wearing them even if you think the water is calm or shallow.Opt for one designed for paddling over boating so that it allows for easier arm movement for paddling. This was the first mistake I made when purchasing kayaking gear.I highly recommend going to a sporting goods store that specializes in the outdoors such as REI and trying on several different styles.
- Paddle – Another necessity. When you’re just starting out most options are just fine. As you keep kayaking, you may decide to upgrade. Also, a good idea to fitted to pick one that is the right size. Our inflatable kayak came with two paddles that have worked just fine for us so far.
- Paddle Leash – A paddle leash is important your paddle from floating away if you happen to drop it or flip. It can be hard to return to your car to go home if you lose your paddle. Never attach your paddle or anything else to yourself because there’s a risk of getting tangled and potential drowning hazards.
- Air Pump – If you have an inflatable kayak, an air pump is a necessity. The kayak may come with one but you may decide to upgrade to double-action larger hand air pump or electric (battery or 12 volts powered depending on what is available in your vehicle). If you have a hard shell, this item is not needed.
- roof rack carrier – (or other transportation solution) – If you have a hard shell kayak you need a way to transport it unless you have the luxury of waterfront property. If you have a roof rack and crossbars, you can add rooftop kayak carriers which is the most common solution. There are lots of other options to consider too – this is one area that is good to research to find what works best for your vehicle and budget along with what you find easiest as a lift the kayak on top of your vehicle. A few other options to consider:
- trailer
- truck bed
- in the back of your car or SUV (8-10 ft kayaks may fit depending on your vehicle). Use a tarp to protect your car.
- wheels – if you have a hard shell kayak and have a decent distance you have to transport the kayak from your car to the water’s edge, wheels can be very helpful to move the kayak. Especially useful if you don’t have anyone to help you and your kayak is on the heavier side. Many people strap the wheels to their kayak once on the water so they’re easily available when they return.
- whistle – A whistle is Avery important safety tool to have on you when you’re kayak to communicate with other kayakers for warnings or if you’re in distress. Many times, it’s required by law to have a whistle with you when on the water. Take a few minutes to learn common paddling hand and whistle signals.
whistle paddling signals:
one loud whistle blast – attention
two loud whistle blasts – stop where you are
three lout whistle blasts – emergency
- dry box – Things get wet when you kayak. There’s a chance your may flip over your kayak. You may fall out. Even without flipping or falling out, things get wet. Waves and drips from the paddle. Anything that has to stay dry should be placed in a dry box. This includes items such as keys and cell phones. Also, make sure to secure the box. Boxes are inexpensive and can be found at sporting goods stores and even big box stores.
- dry bag – if you have a lot of gear with you, a dry bag is very useful. Items such as a towel, sweatshirt, snacks should be placed in the bag.
- small cooler – if you’re planning a trip for a few hours or more, its a good idea to bring a cooler with food and drinks.
We have the 10″ square Iglo Cube Cooler. It’s the perfect size for lunch for two and a few ice packs.
- Water bottle – Bring a water bottle. A large insulated bottle or several. Being out on the water with the sun, it’s very important to stay hydrated.
- Sunscreen — Don’t forget the sunscreen. With the sun and water, it’s critical. Make sure you reapply often.
- SPF shirt or rash guard – Even with sunscreen, when you’re on the water all day it’s easy to burn. An SPF shirt or rash guard is a great way to protect your skin.
- Sunglasses – Another necessity to protect your eyes. Use a strap to keep them on your head is a good idea too so you don’t lose them.

- Hat – Hats are a great way to protect your head from the sun. Choosing a wide brim over a baseball cap will provide additional protection for the back of your neck. A chin strip will help it to stay on during windy days.
- Water Shoes – Your feet will get wet. You also need some protection for your feet. Water shoes are great way to provide some protection and can get wet. Other options include Crocs, Native shoes, Keens, or Chacos.
- Lights – if you’re kayaking at night you need lights for your kayak. A headlamp is also a good idea. Local boating rules usually require lights – check your local regulations to see what is required. Night kayaking during a full moon is an amazing experience. Check with your local kayaking groups as many will organize group meetups when there’s a full moon.
- Knife – Always carry a small knife in case you or your boat gets tangled up and you need to cut free.
- First Aid Kit – A basic first aid kit is always a good idea. Bandages, medical tape, gauze, anti-itch cream, Benedryl, and a few OTC medications.
These are the essentials. There are more ‘nice to haves’ depending on the types of trips you take. Go out a few times and decide what else would add to your experience.
Before planning a trip, always check the weather and regulations for the location. Often there is a permit or parking fee required. Some places allow kayaking but no swimming. Learn what areas allow motorized boats and what areas they are not allowed – it’s much easier to begin in an area without motorized boats (or at least no-wake zones)
Renting a kayak in Arizona
As I mentioned above, a great way to start is renting before you purchase your first kayak. It’s a great way to give the sport a try to see if you like it and to help you figure out what type of kayak you prefer. We live in Phoenix and put together a list of some spots to help you get started if you’re new to the sport or the area:
Places you can rent onsite:
Rental companies that drop off at the water – There are a few places where you can rent a kayak and they will drop off at the water. There are also places where you can rent and you will need to transport the kayak yourself.
- Redline Rentals
- REI
Guided Tours – Kayaking tours with a guide is a great way to get started. They provide the kayaks along with a guide who can give you tips during your outing. There are tour companies for the Salt River, Verde River, and Lake Pleasant.
Arizona Kayaking classes
This is a great way to learn safety tips, how to control your kayak, and important skills like getting back in your kayak if you were to flip.
- REI
- Maricopa County Parks and Recreation With Cabela’s at Lake Pleasant
- Arizona Fish and Game
We’ll keep adding to this list of resources for Arizona so make sure you pin this post and check back. Know of some we’ve missed? drop us a note
Any essentials we should add the list? Leave a comment with your favorites
